6.0L Powerstroke Oil Cooler Flush Kit
- INSTRUCTIONS -
Before performing any vehicle service procedure, be sure that you have the proper tools, equipment, and training and that you have read the appropriate sections of the factory service manual. To avoid the possibility of severe burns when servicing any vehicle's cooling system, be sure that the engine has cooled completely before opening the system. Always wear safety glasses.
1. Drain the vehicle's cooling system completely.
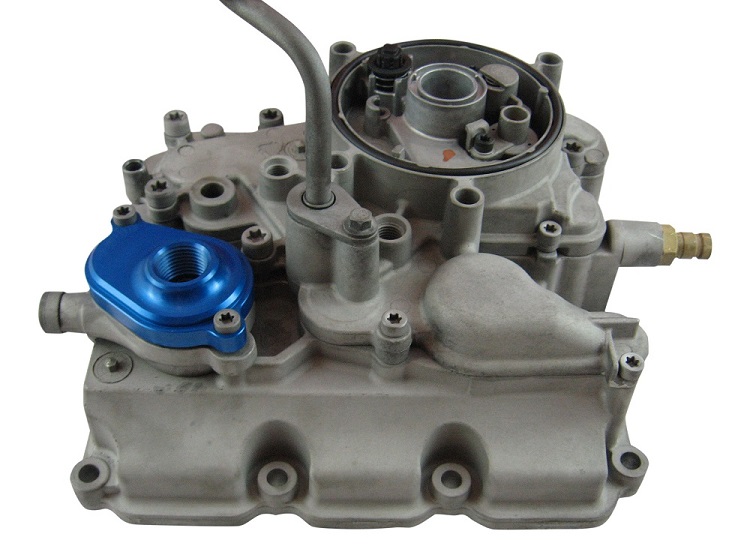
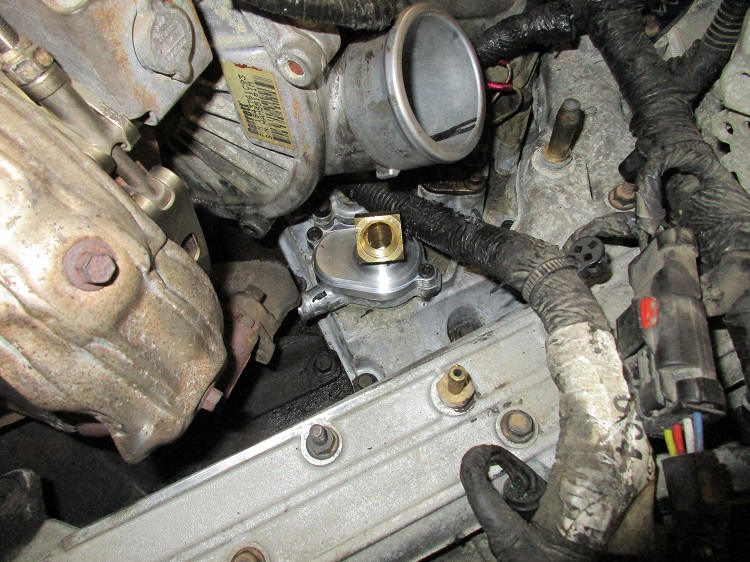
2. Remove the rear coolant manifold cover (shown at black arrow in picture below) from the top of the oil cooler cover by removing (2) T-30 Torx head bolts.

3. Install the flush adapter (show in blue below) in place of the coolant manifold cover and replace the two T-30 bolts.
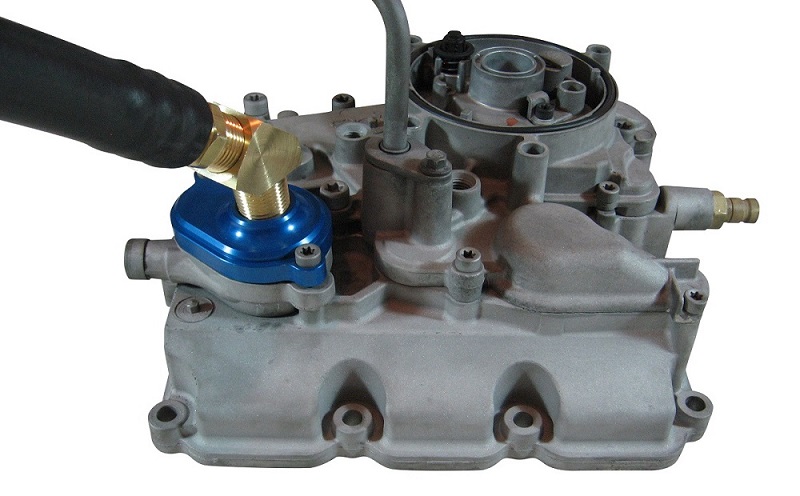
4. Thread the 45 degree brass elbow into the flush adapter as shown below.
5. Thread the flush hose assembly into the into the 45 degree adapter. See illustration below.
6. Remove the lower radiator hose and place a large clean receptacle under the open end of the hose.
7. Connect a garden hose to the flush adapter and flush until the water coming out of the lower hose runs clear.
8. In order to remove all sediment from the system and prevent future plugging of the oil cooler, we suggest completely flushing the engine block, radiator, and heater core.
9. Re-assemble the vehicle to it's original condition, fill the system with the proper concentration of the correct coolant, and bleed the air from the cooling system. Then carefully check for any leaks.
10. Operate the vehicle under load and compare engine and coolant temperature (Delta T) to verify that the oil cooler is restored to full function.
<<< Back to Oil Cooler Flush Kit Page